Library
In Altium, libraries store all components used in schematic and PCB designs—including symbols, footprints, and part numbers.
The New Library contains a collection of commonly used components for team projects. Components can be selected from this library or added if they aren’t already available. This ensures consistent symbols, footprints, and part data across all designs.
Use Existing Components
To add components from the library:
-
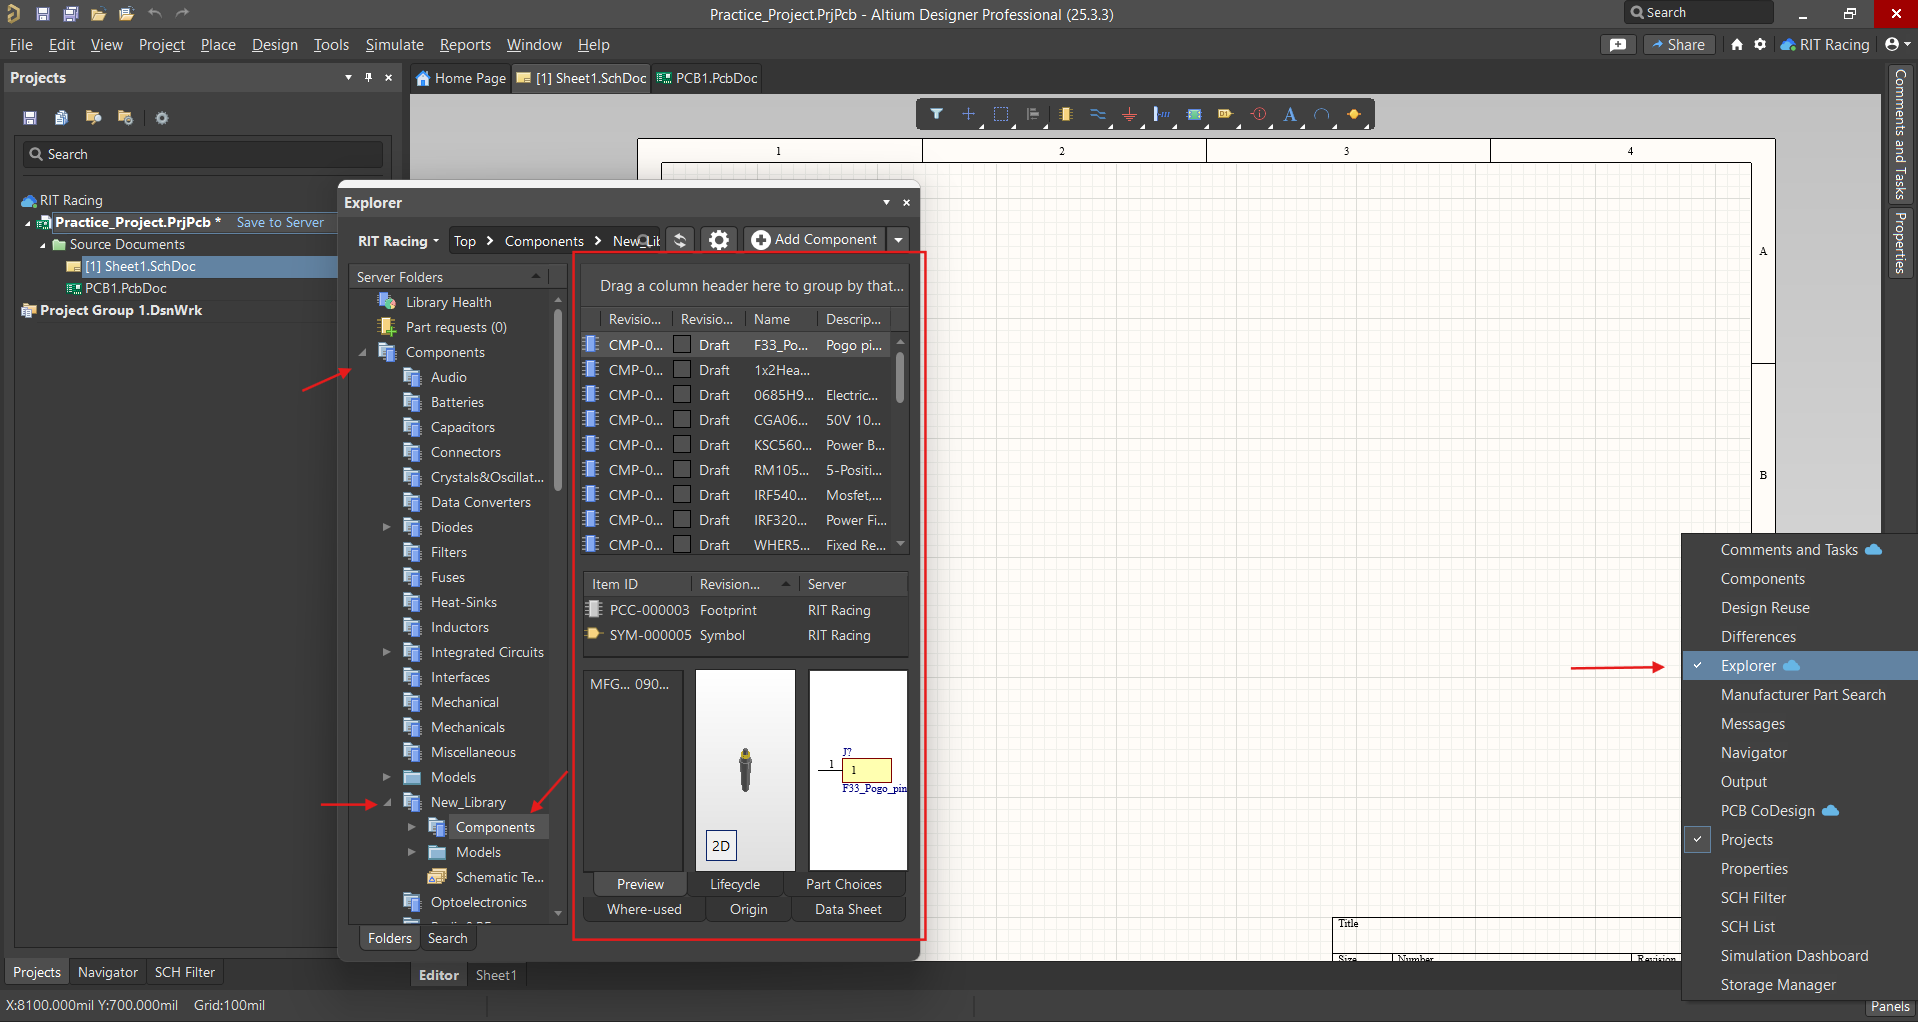
Click the Panels button on the bottom right corner and go to Explorer. In the window that pops up, navigate to Components → New_Library and click on Components. A list should appear in the section on the right.
-
The folder is further split into different component types (eg., resistors, capacitors, ICs, etc.) Each component has a name and description listed. When selected, details of the component appear in the panel below. This includes footprints of the parts associated with the component.

-
Right-click → Place or drag the component onto the schematic.
Add a New Component
- Search for the part you need on Digikey.
- In Altium, navigate to the Explorer panel and to New_Library → Components → [appropriate component type].
-
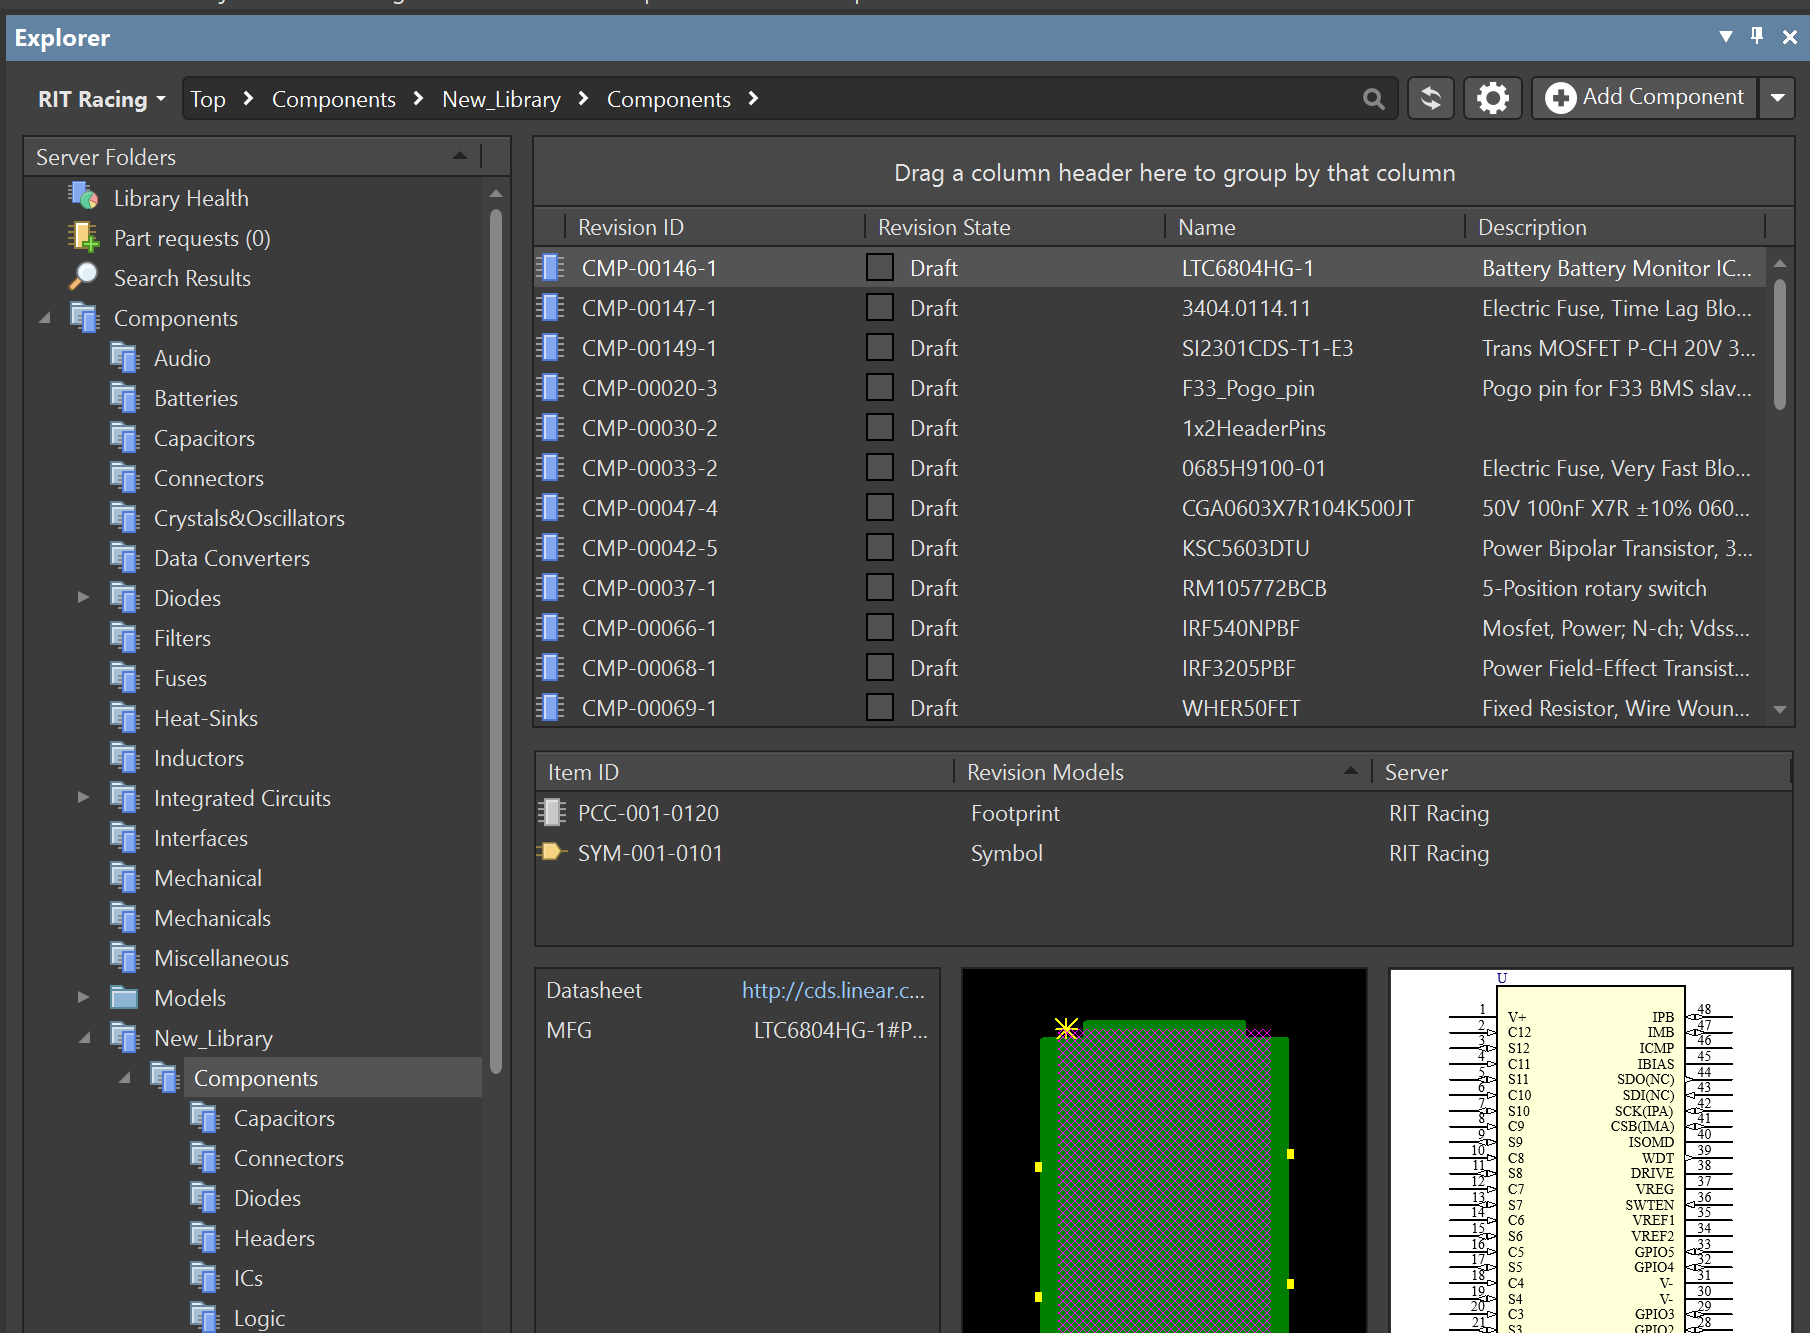
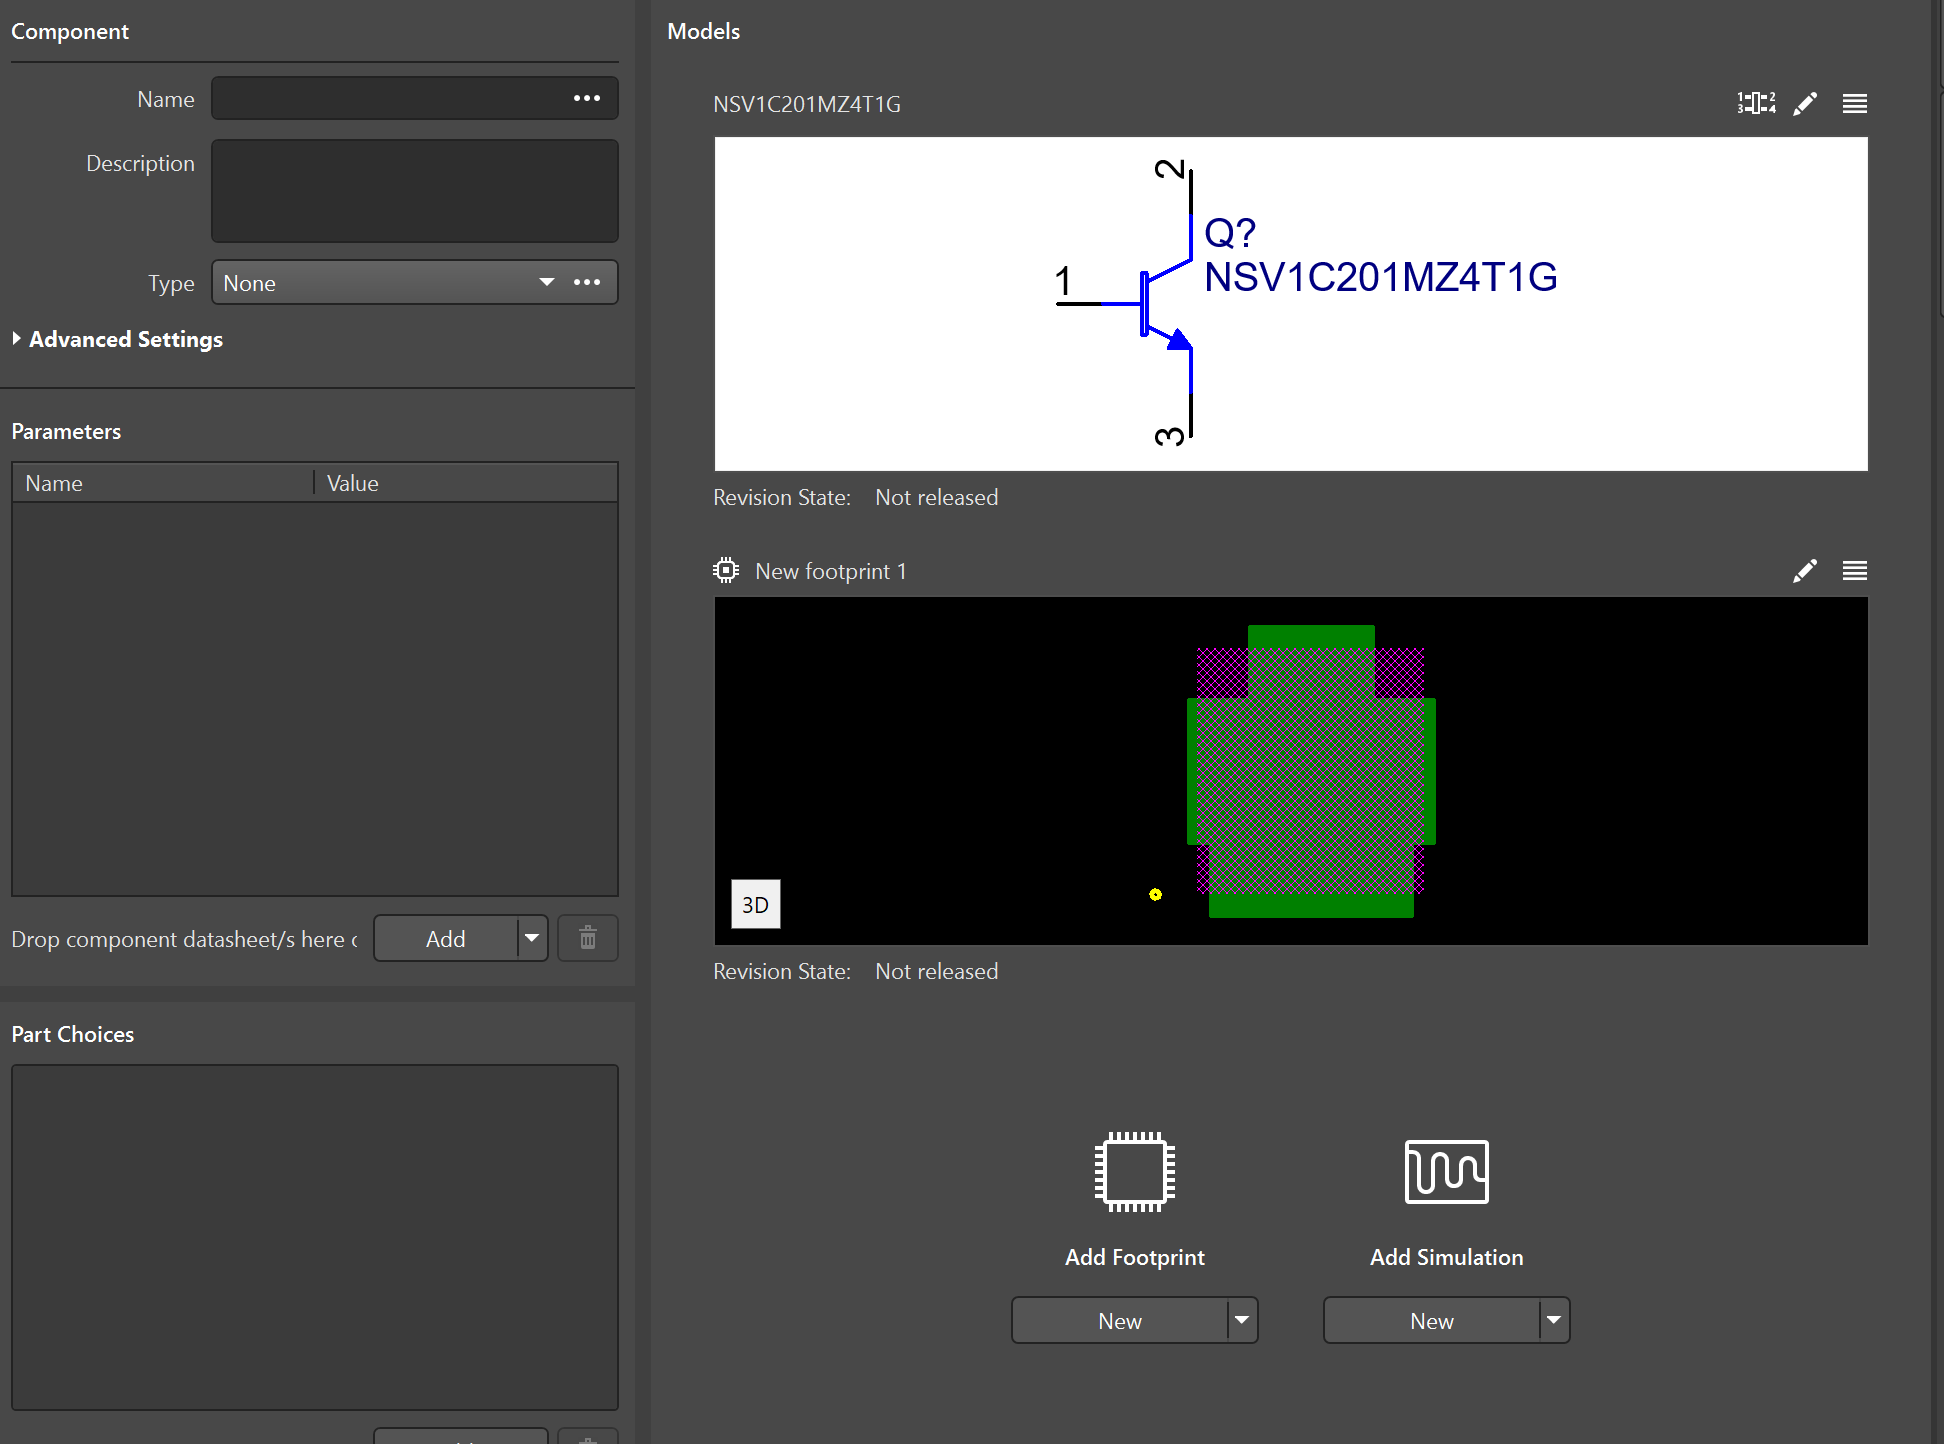
Click Add Component in the top right.
-
Add the component name and manufacturer part number (under Parameters) to the sections on the left.
Creating Footprints and Symbols
Common Packages
For creating footprints for packages which are commonly used (e.g., SOIC-8, SOT-23, etc.):
- Navigate go to Add Footprint → Wizard.
- Choose the package type.
- Refer to the component’s datasheet for mechanical dimensions and input these into the wizard.
- After creating the footprint, pair it with the appropriate schematic symbol from the existing ones in the library.
- Name the component using the part number. Altium will prompt you to autofill parameters based on the symbol and footprint—this is recommended for all parts except basic resistors and capacitors.
Uncommon Packages
Note: The following images demonstrate using a common part which would otherwise be added using the above steps.
Follow the steps below for uncommon packages or unique parts for which the footprint must be imported.
-
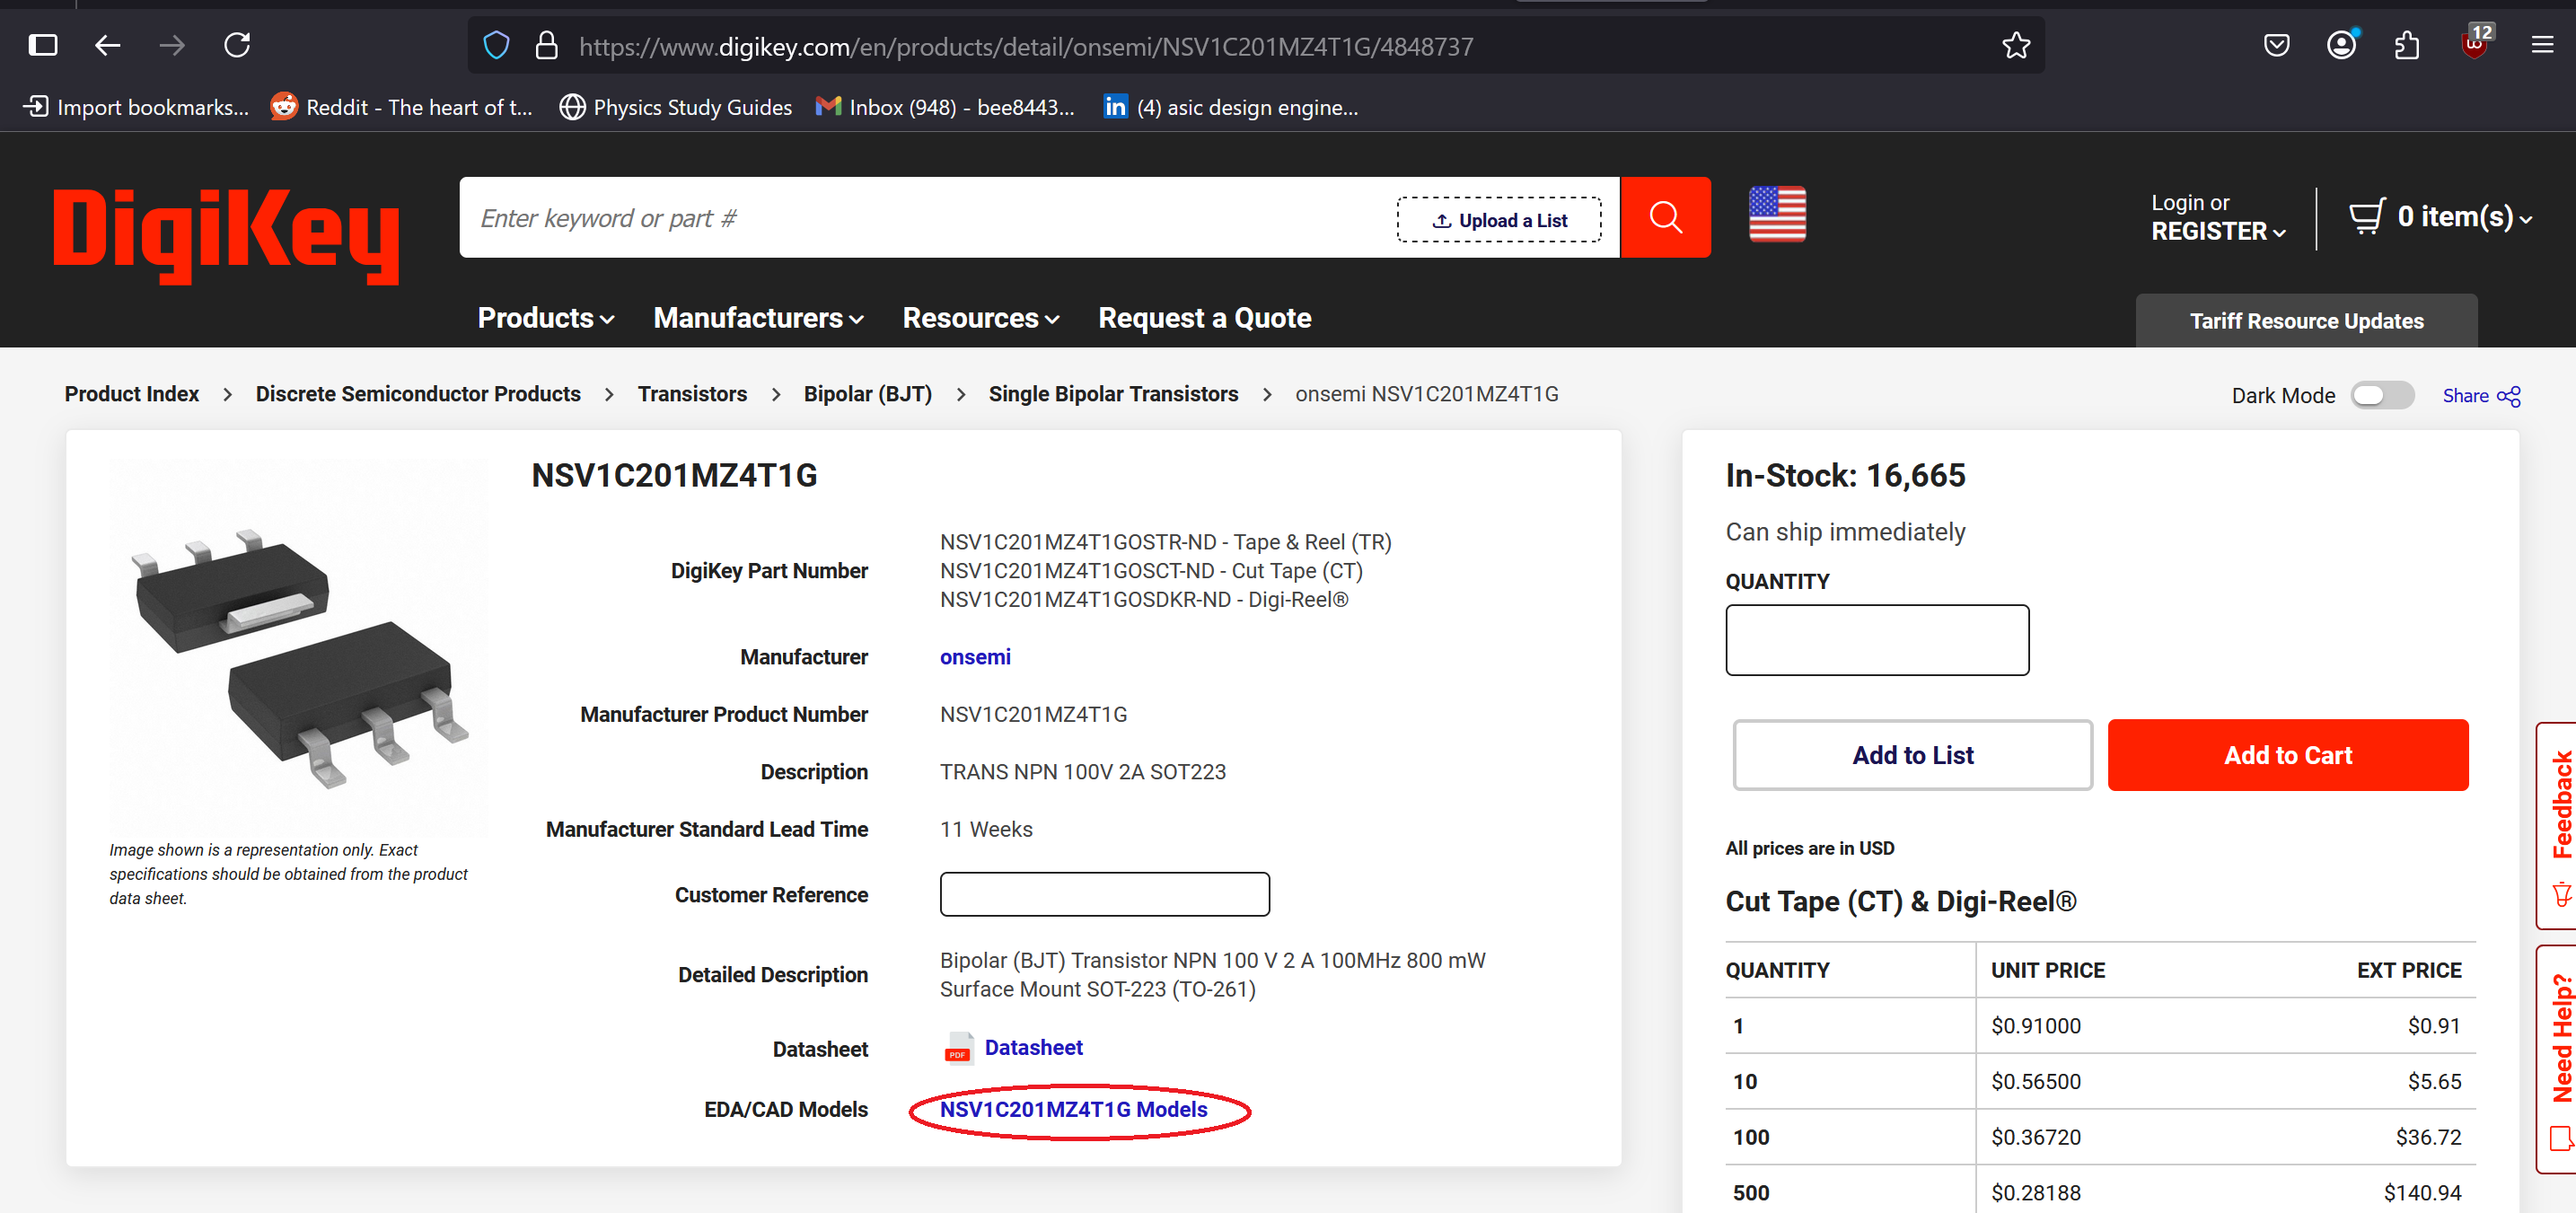
In the Digikey product page, locate the EDA/CAD Models section.
-
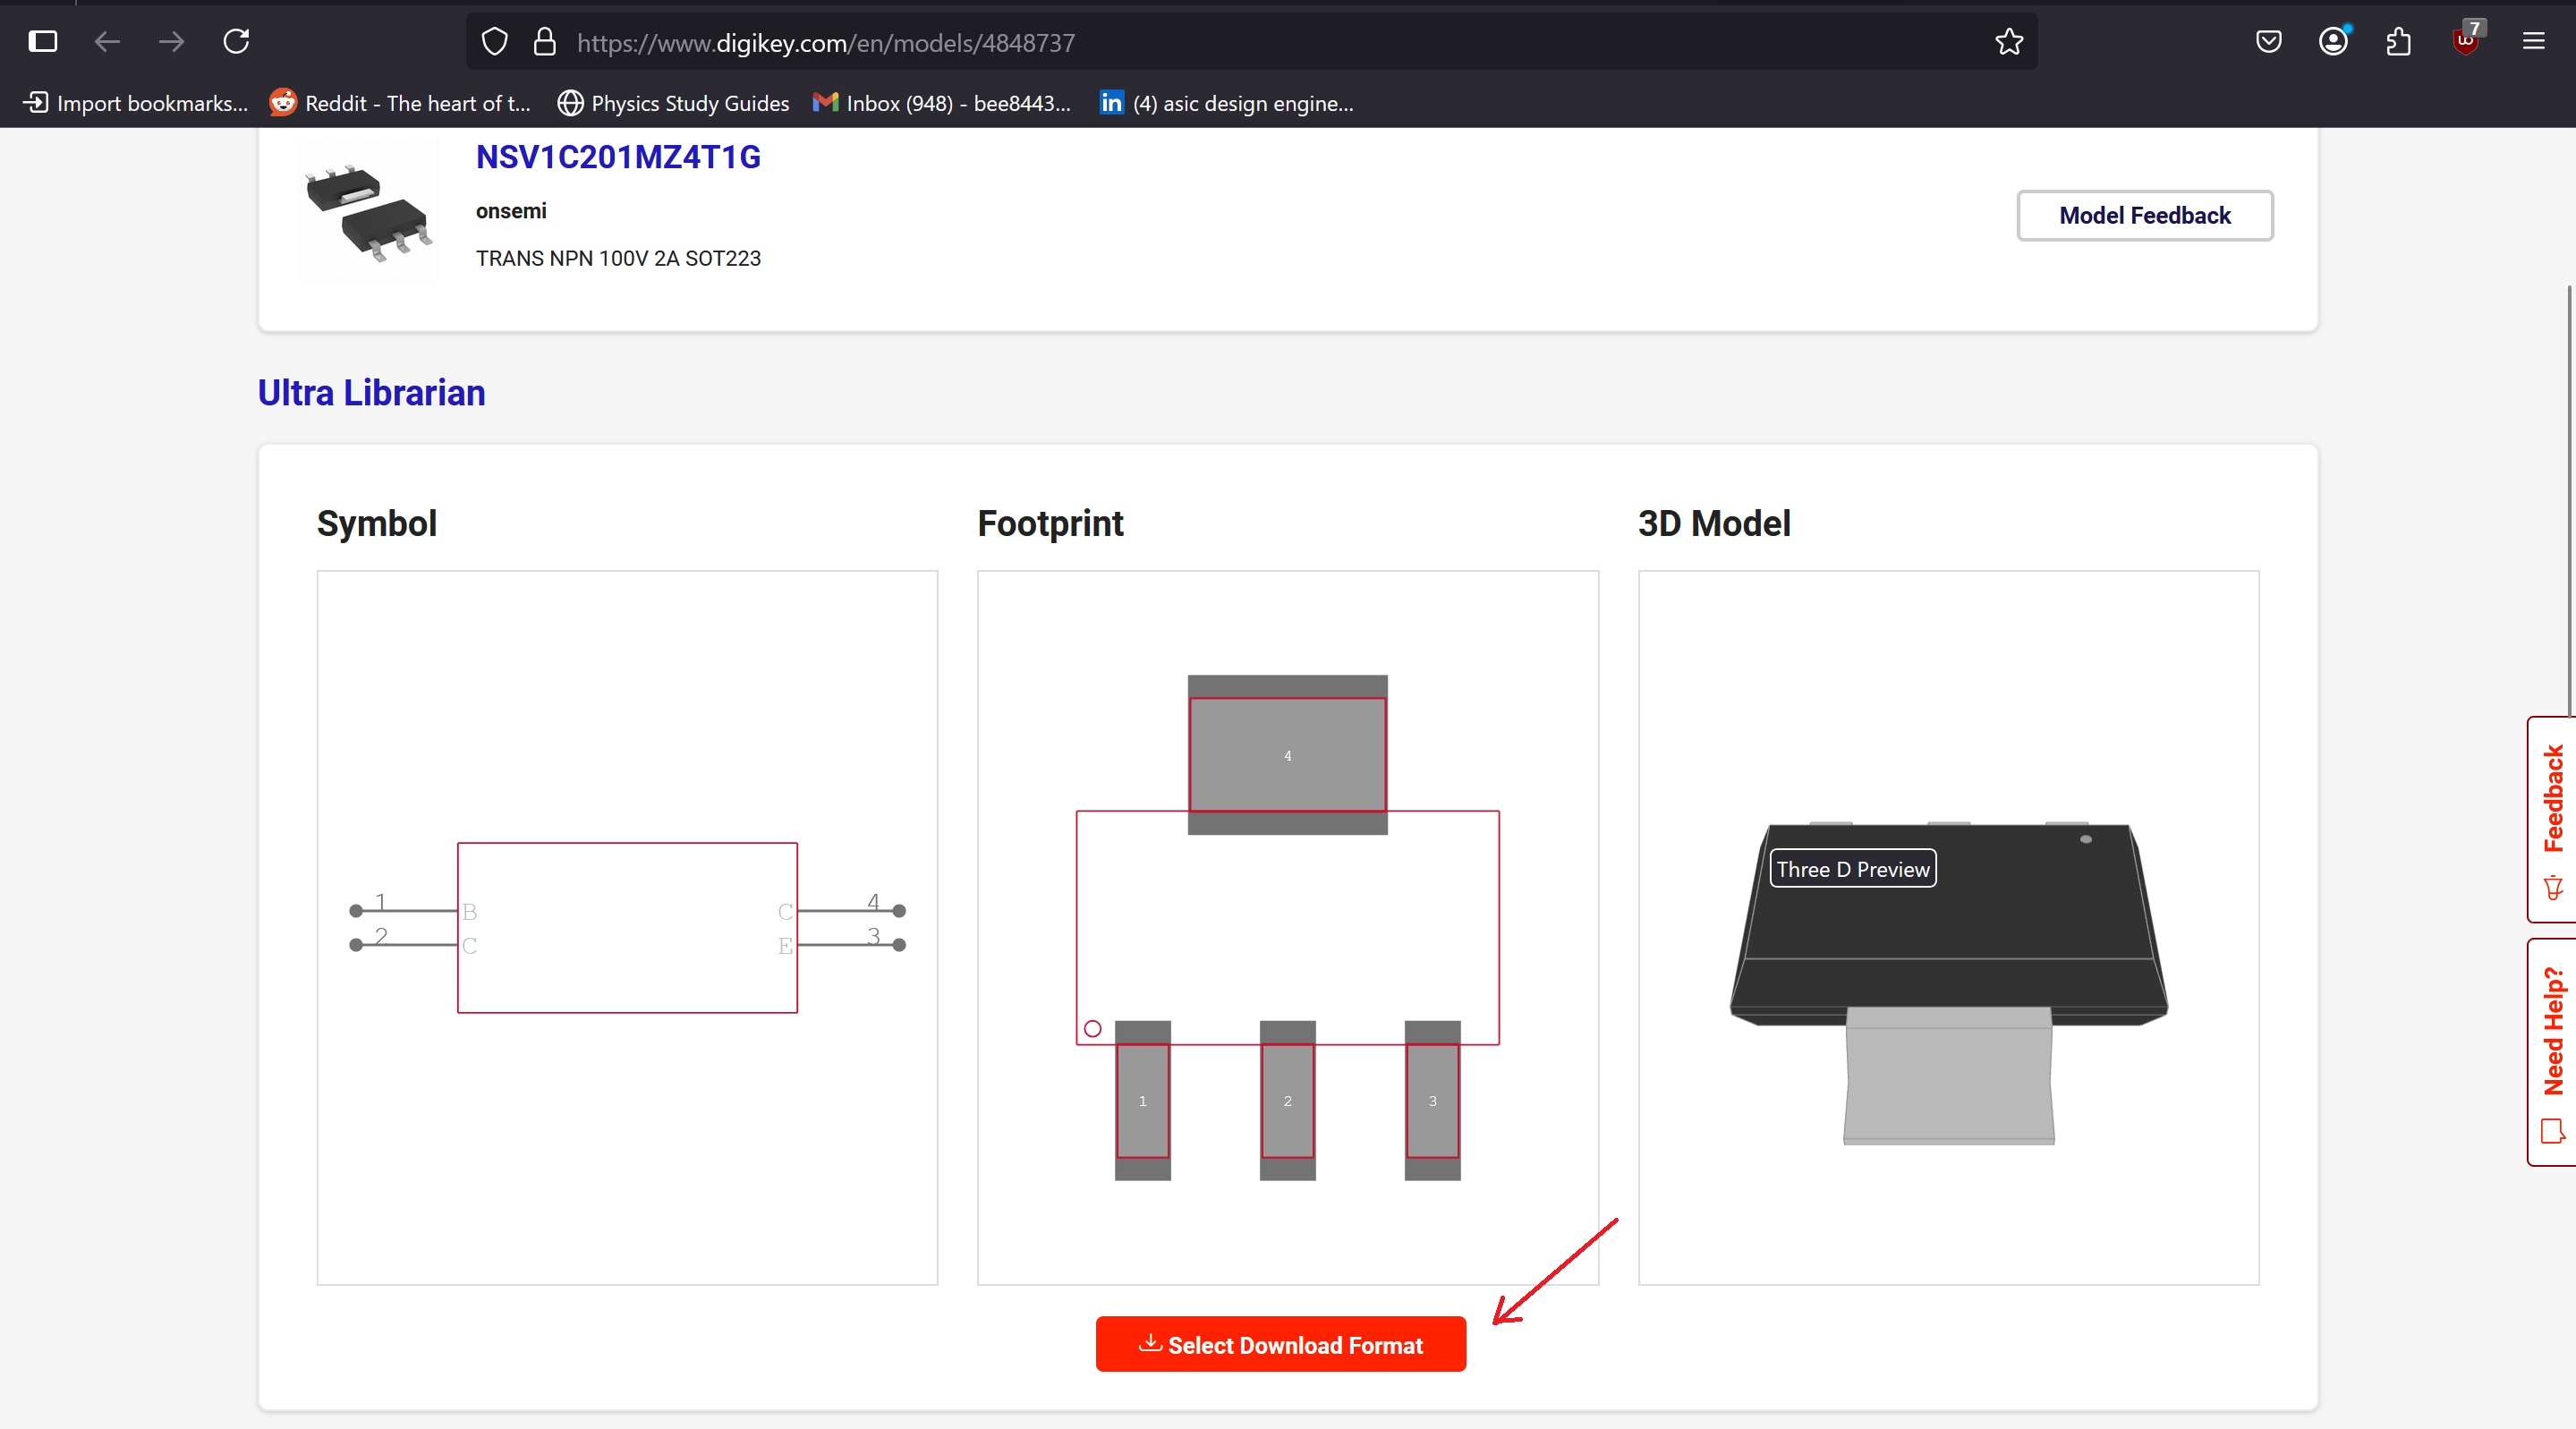
Choose a download option compatible with Altium (e.g., Ultra Librarian).
-
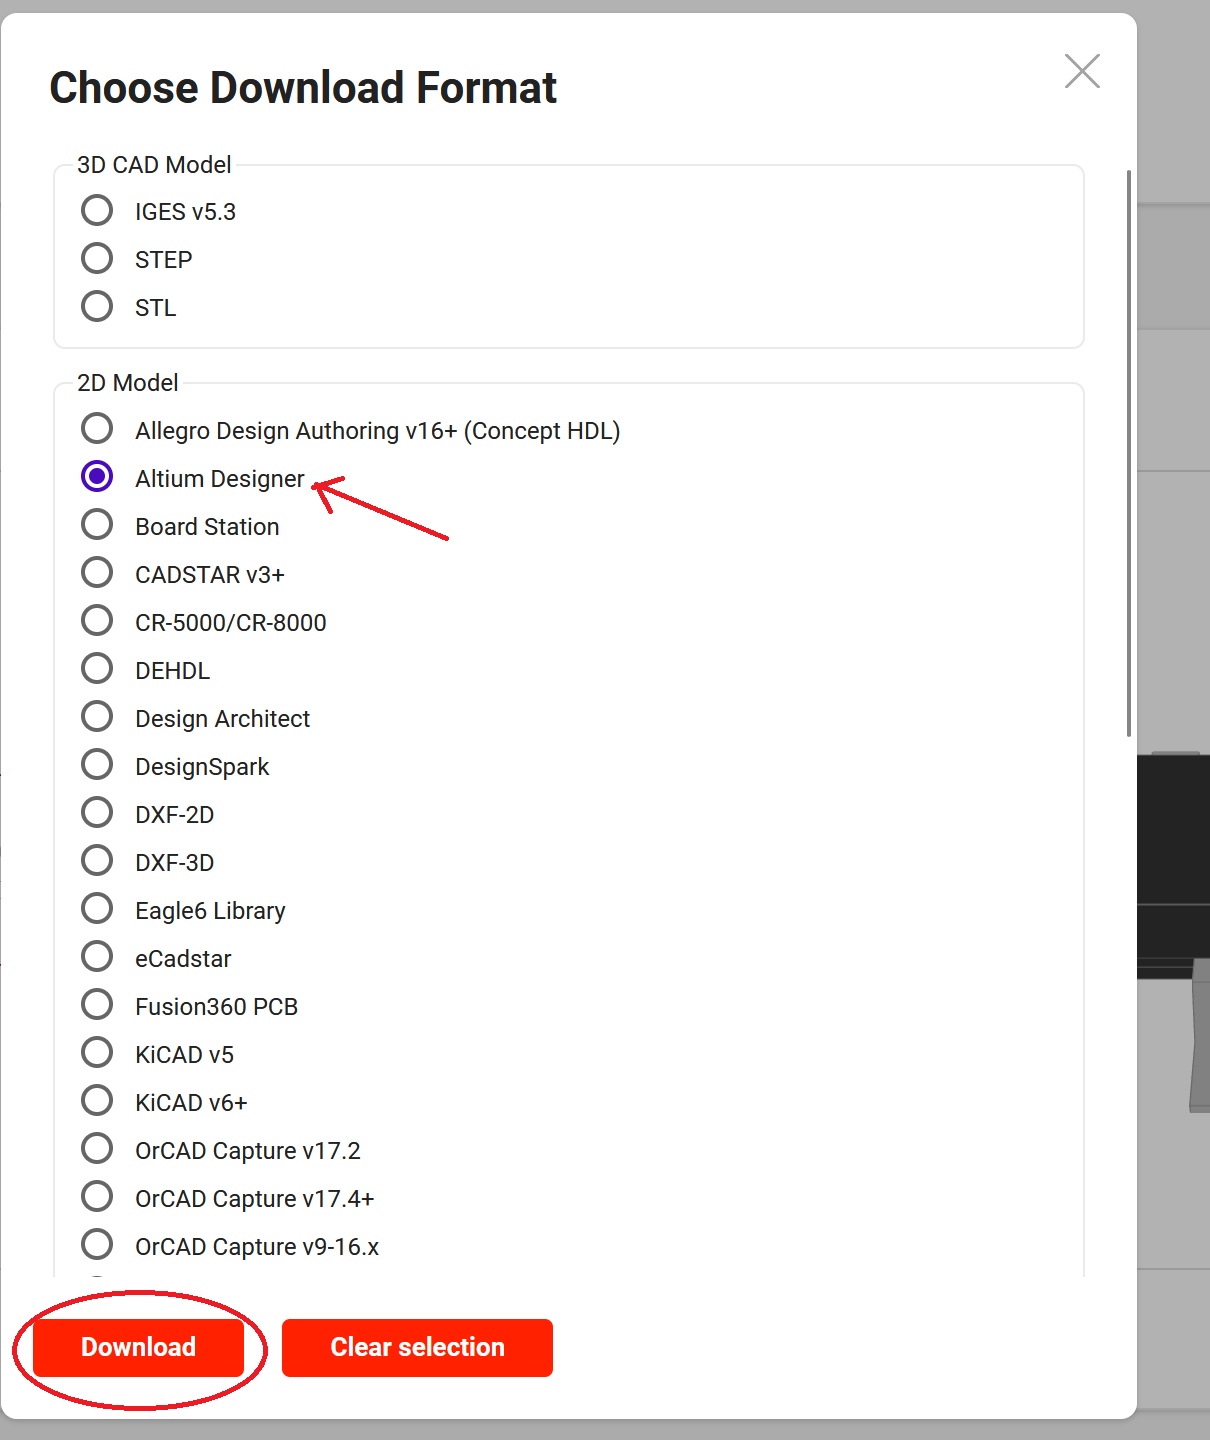
Select Altium as the download format (no need to select 3D CAD model).
-
Extract the downloaded ZIP file to a known location on your computer.
-
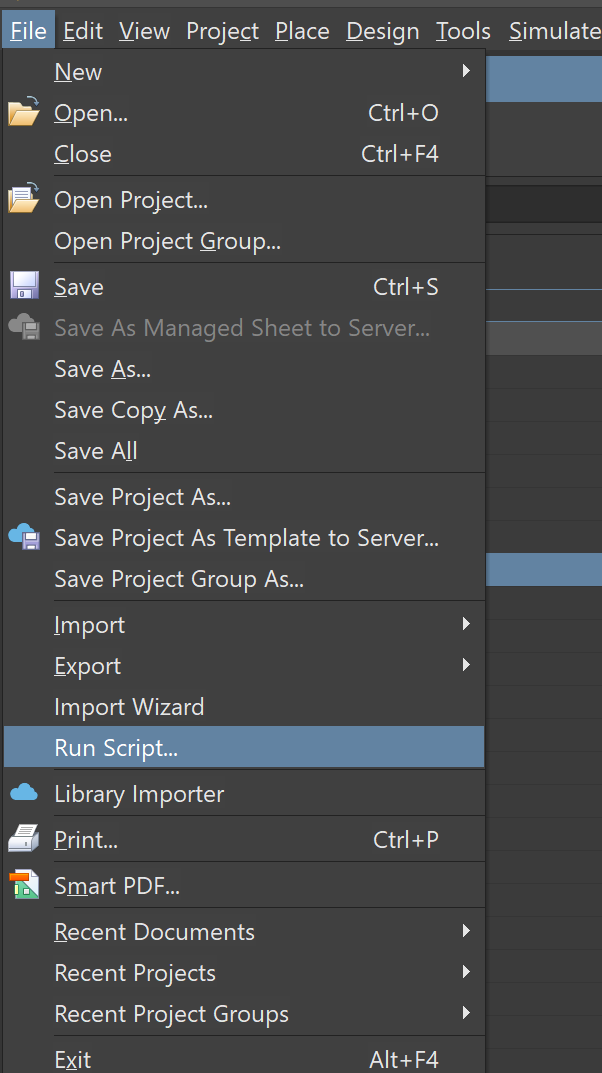
On Altium go to File → Run Script.
-
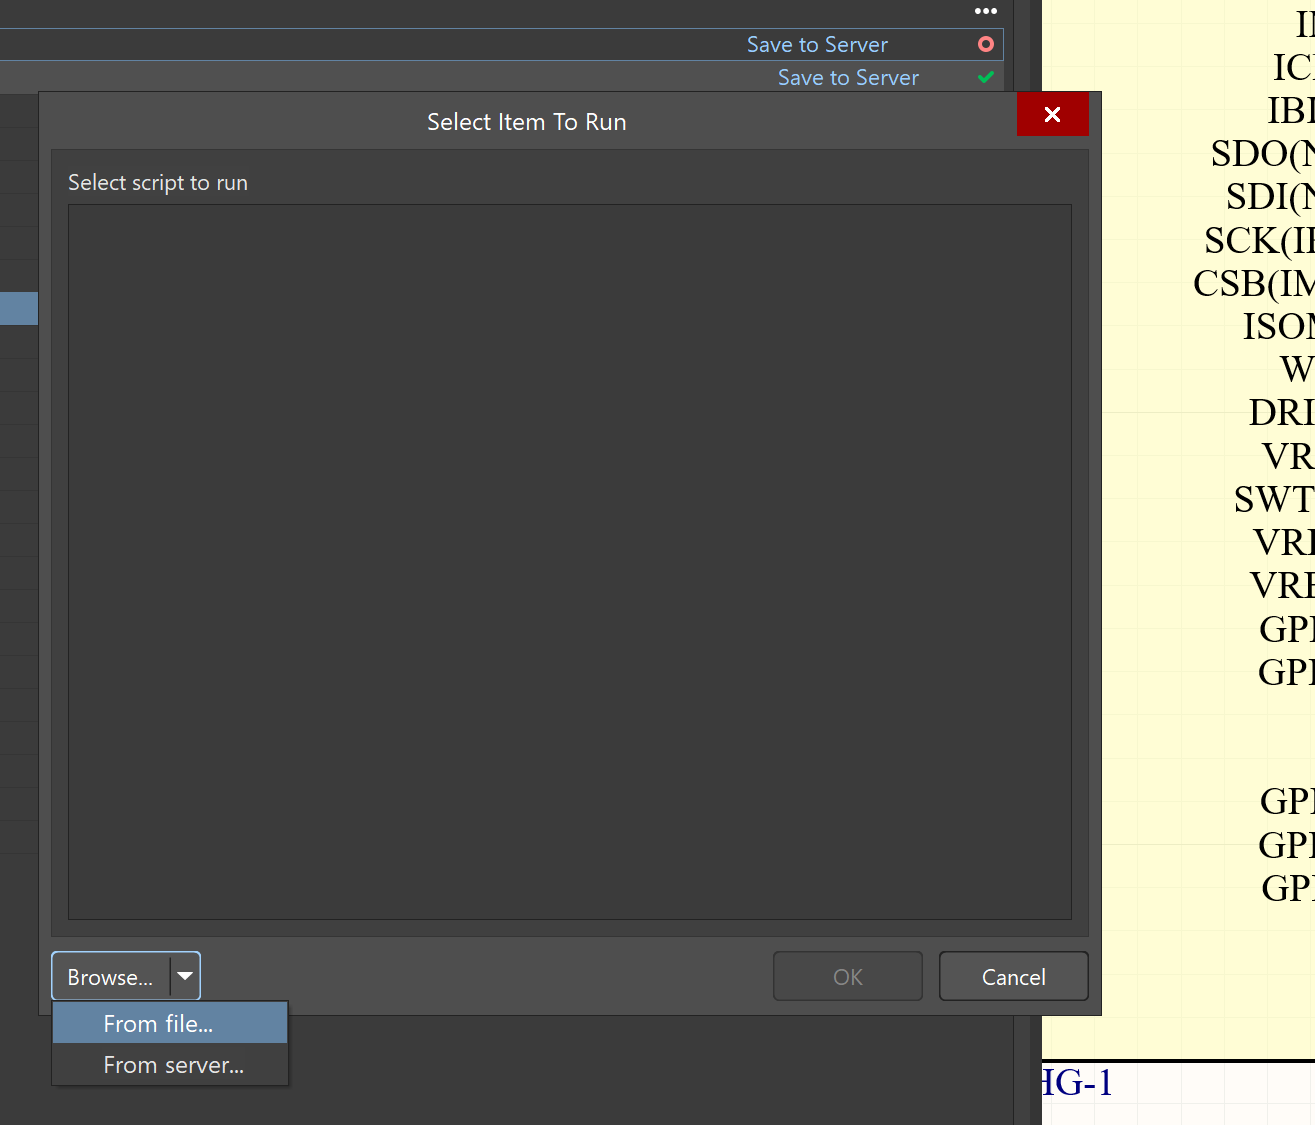
A window will pop up. Here, select Browse → From file.
-
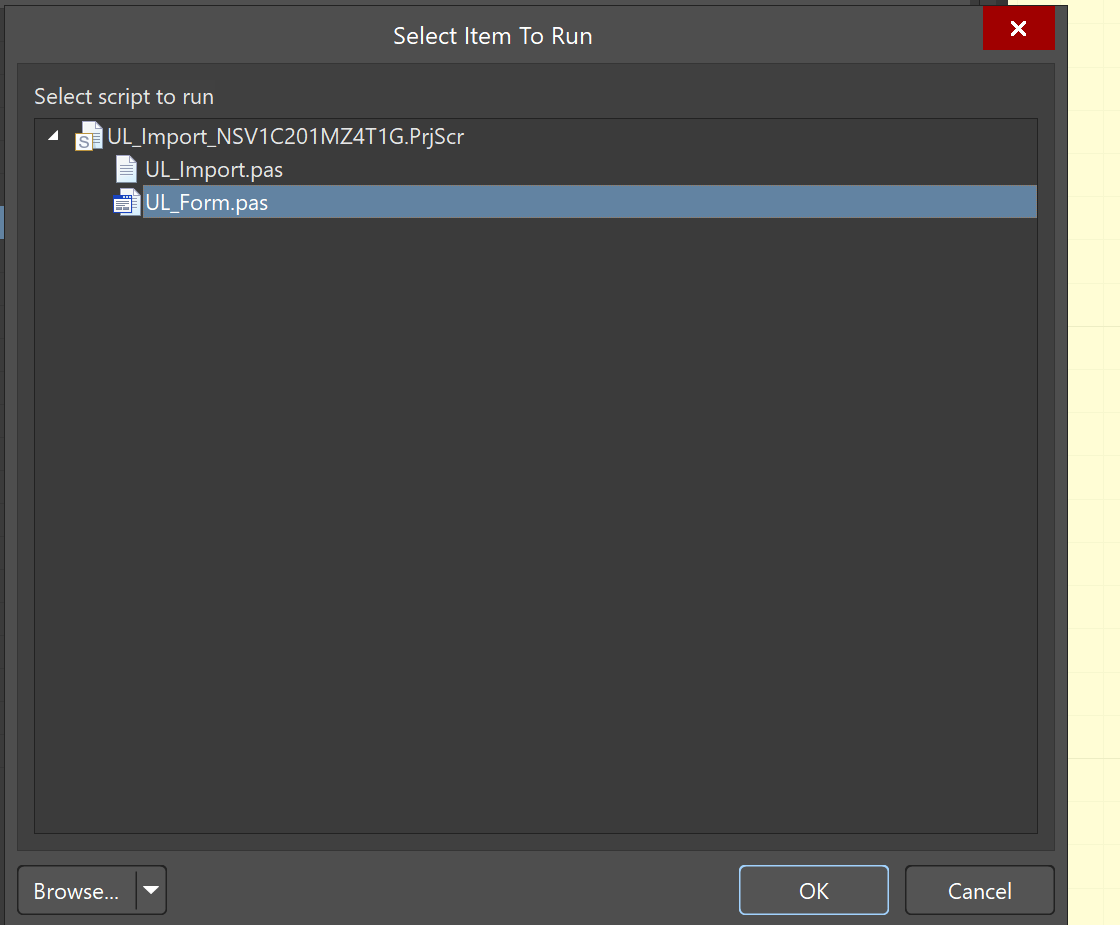
Select the file (it should begin with "UL_Import").

-
Select the one that says UL_Form.
-
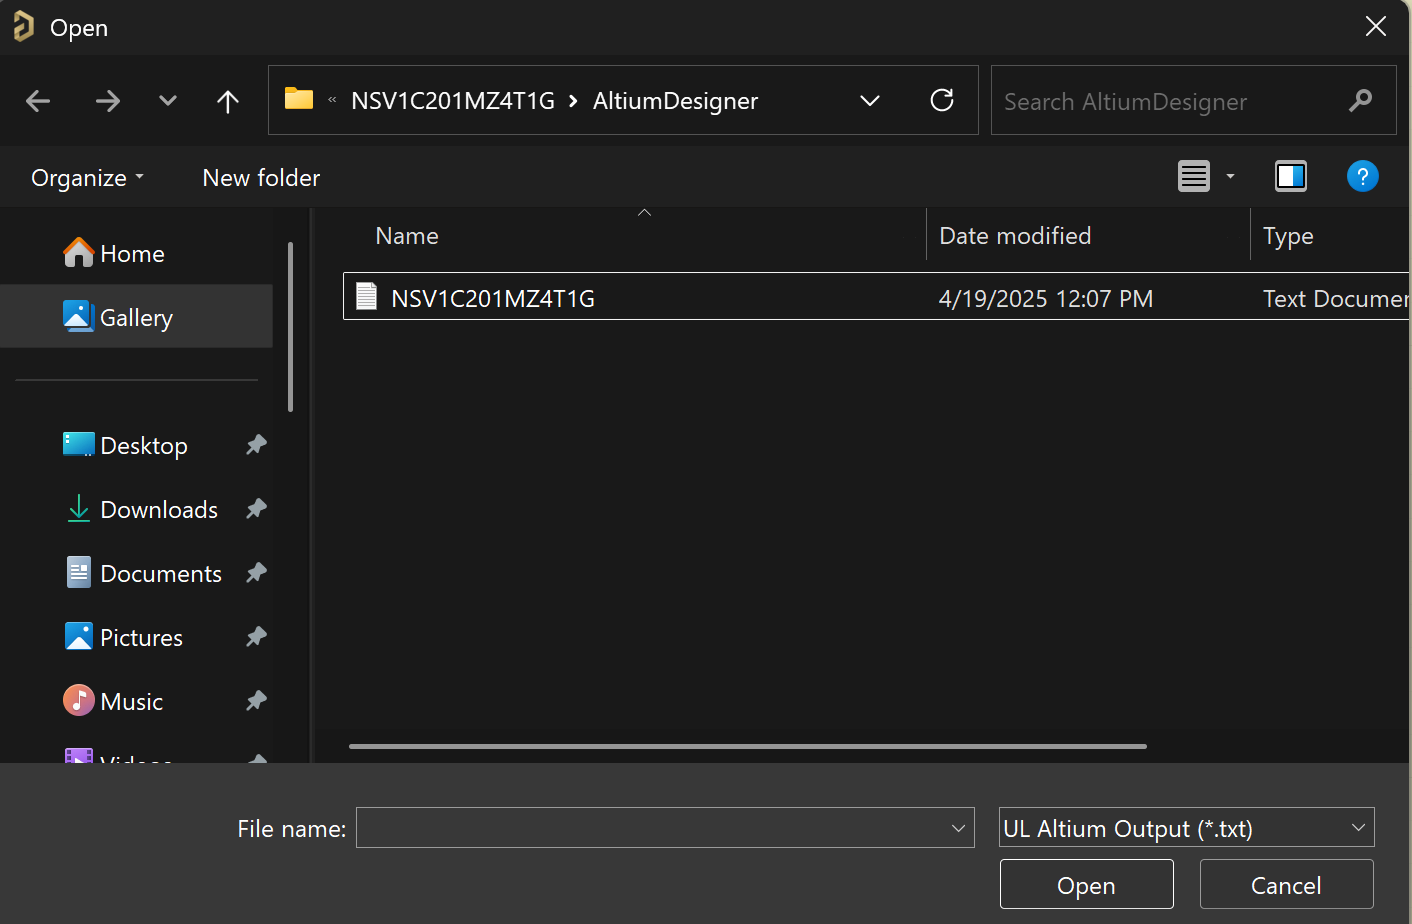
In the UL Import window that pops up, select File and choose the text document from the extracted files.
-
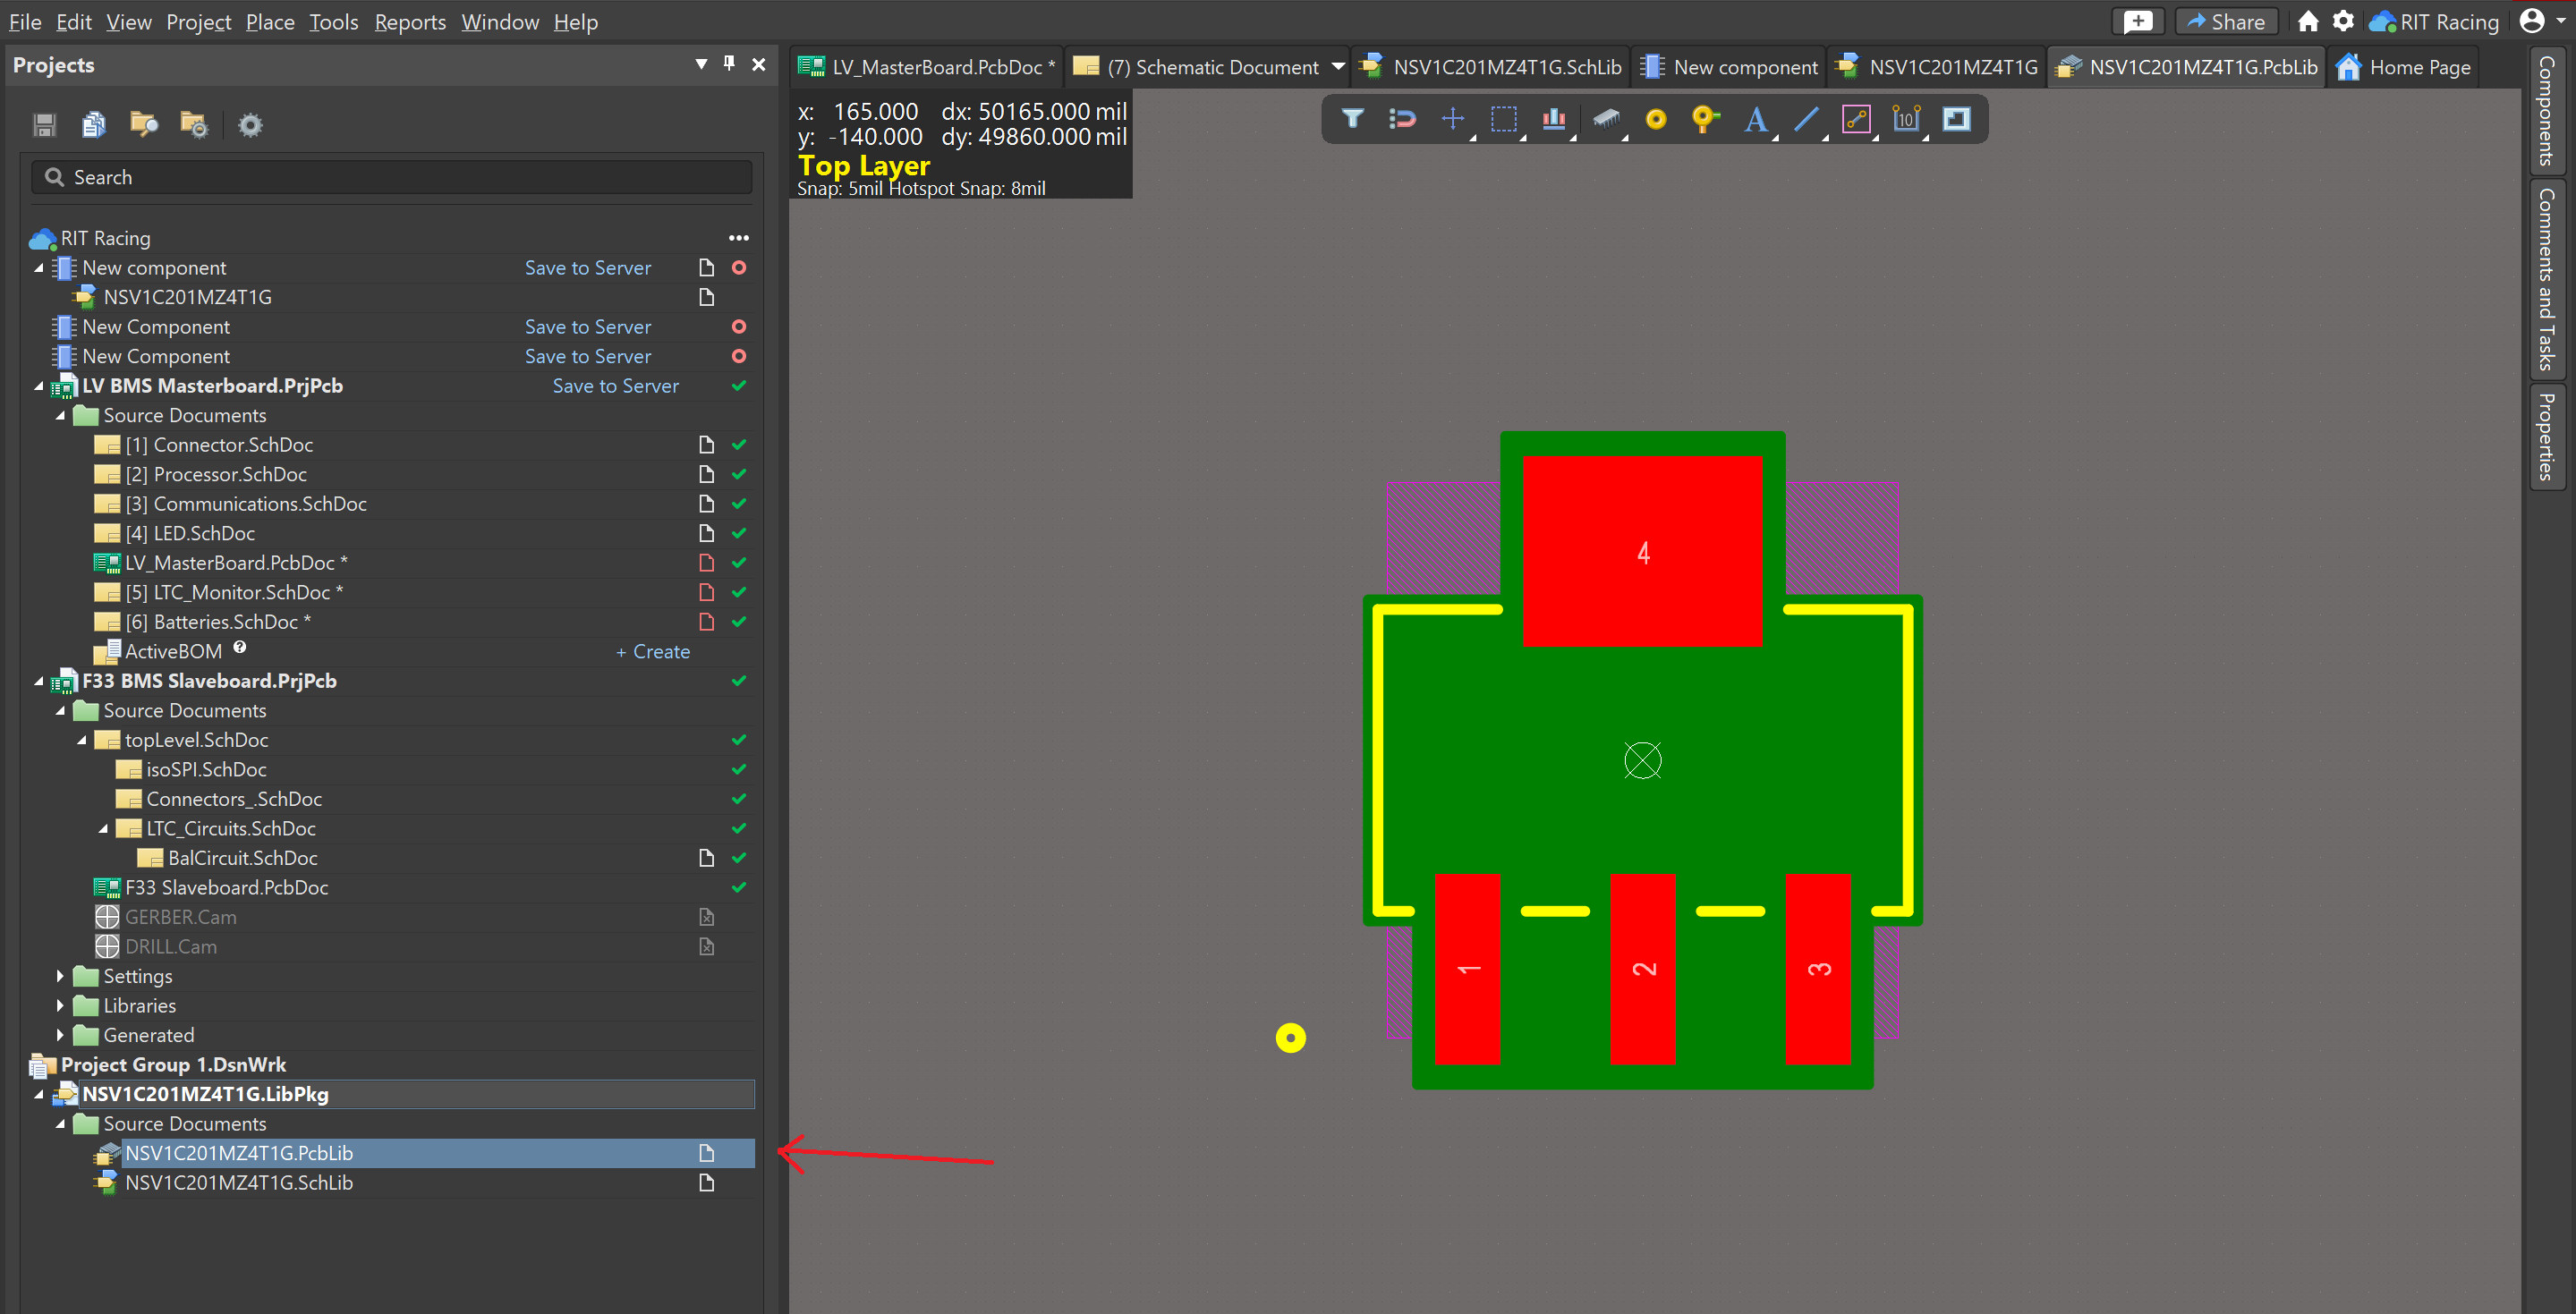
The component documents should appear in the left panel under your open projects. (For files ending in ".PcbDoc": if the content appears blank, try closing and reopening the document.)
-
For both the symbol and footprint:
- Select Wizard → New.
- Copy and paste the symbol/footprint from the respective files.
Finishing Up
- Right-click on the new component tab and Save.
- Save to Server.
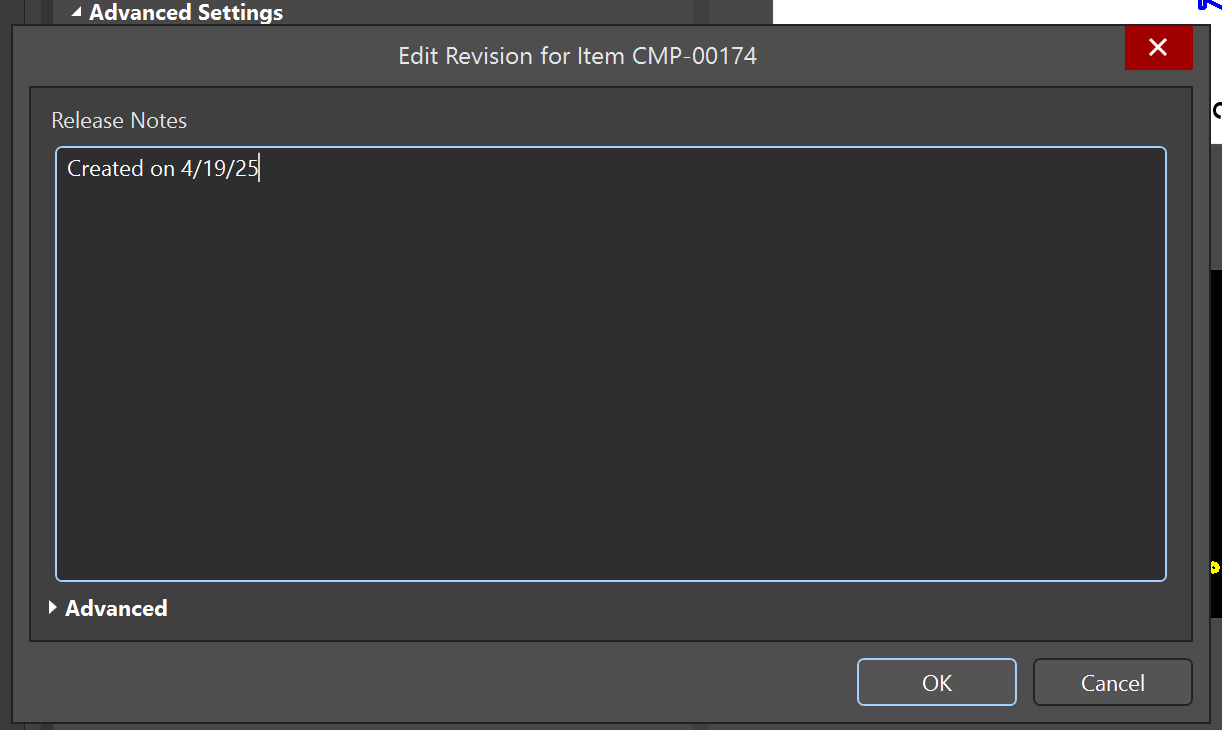
-
When creating or editing a component, be sure to add a comment such as "Created/Edited on [current date]" along with a description of the additions or changes in the Release Notes window that appears.